Showing posts with label paper arts. Show all posts

Friday, July 19, 2013

printing with a car, instead of a printing press!!..yes you did read that correctly.

The lake scene linocut was bothering me, for two reasons, The image needed tidying up as I wasn't keen on how the sky looked, but the bigger issue was that I don't have a printing press and burnishing an image of this size just wasn't working out...

I have spent all morning googling making printing presses, they are all too large for the space that I have available and a bit too big of an undertaking when I would only use it once in a blue moon, In the back of my head I had remembered something about printing with a car, there is a good youtube video of this (which I now cannot find!), but using what looks like a woodcut, rather than a lino cut...

nothing ventured, nothing gained, I have a car, I don't have a printing press. So it was time to cobble something together..

I glued the lino block onto a thin piece of ply, but that exhausted the supply of ply, scratching my head, I found an old plastic chopping board, thick and robust.


 To (try and) make sure that the paper didn't shift while it was printing, I made a hinge out of duct-tape (are you thinking McGyver yet?)

 The stack for printing went board+linocut, paper, two blankets to pad it out a little, these were cut from an old woolen blanket, I tried with both one and two layers and it didn't make much difference.


 And then under the front wheel of the car, with the hinge towards the wheel, to miminise movement.

 This was the first attempt, I realised that either I need fatter tyres on the car, or I needed to reposition the stack and go over it a few times.

This is the final print, for this one I ran the car over six times, three times across the width X 2.

If you look really closely at the print, there was a little movement of the image, but I am very happy with this.

The side had a little bit of ink 'missing, so I did a little bit of touching up here and there.

Saturday, June 15, 2013

Art journal,

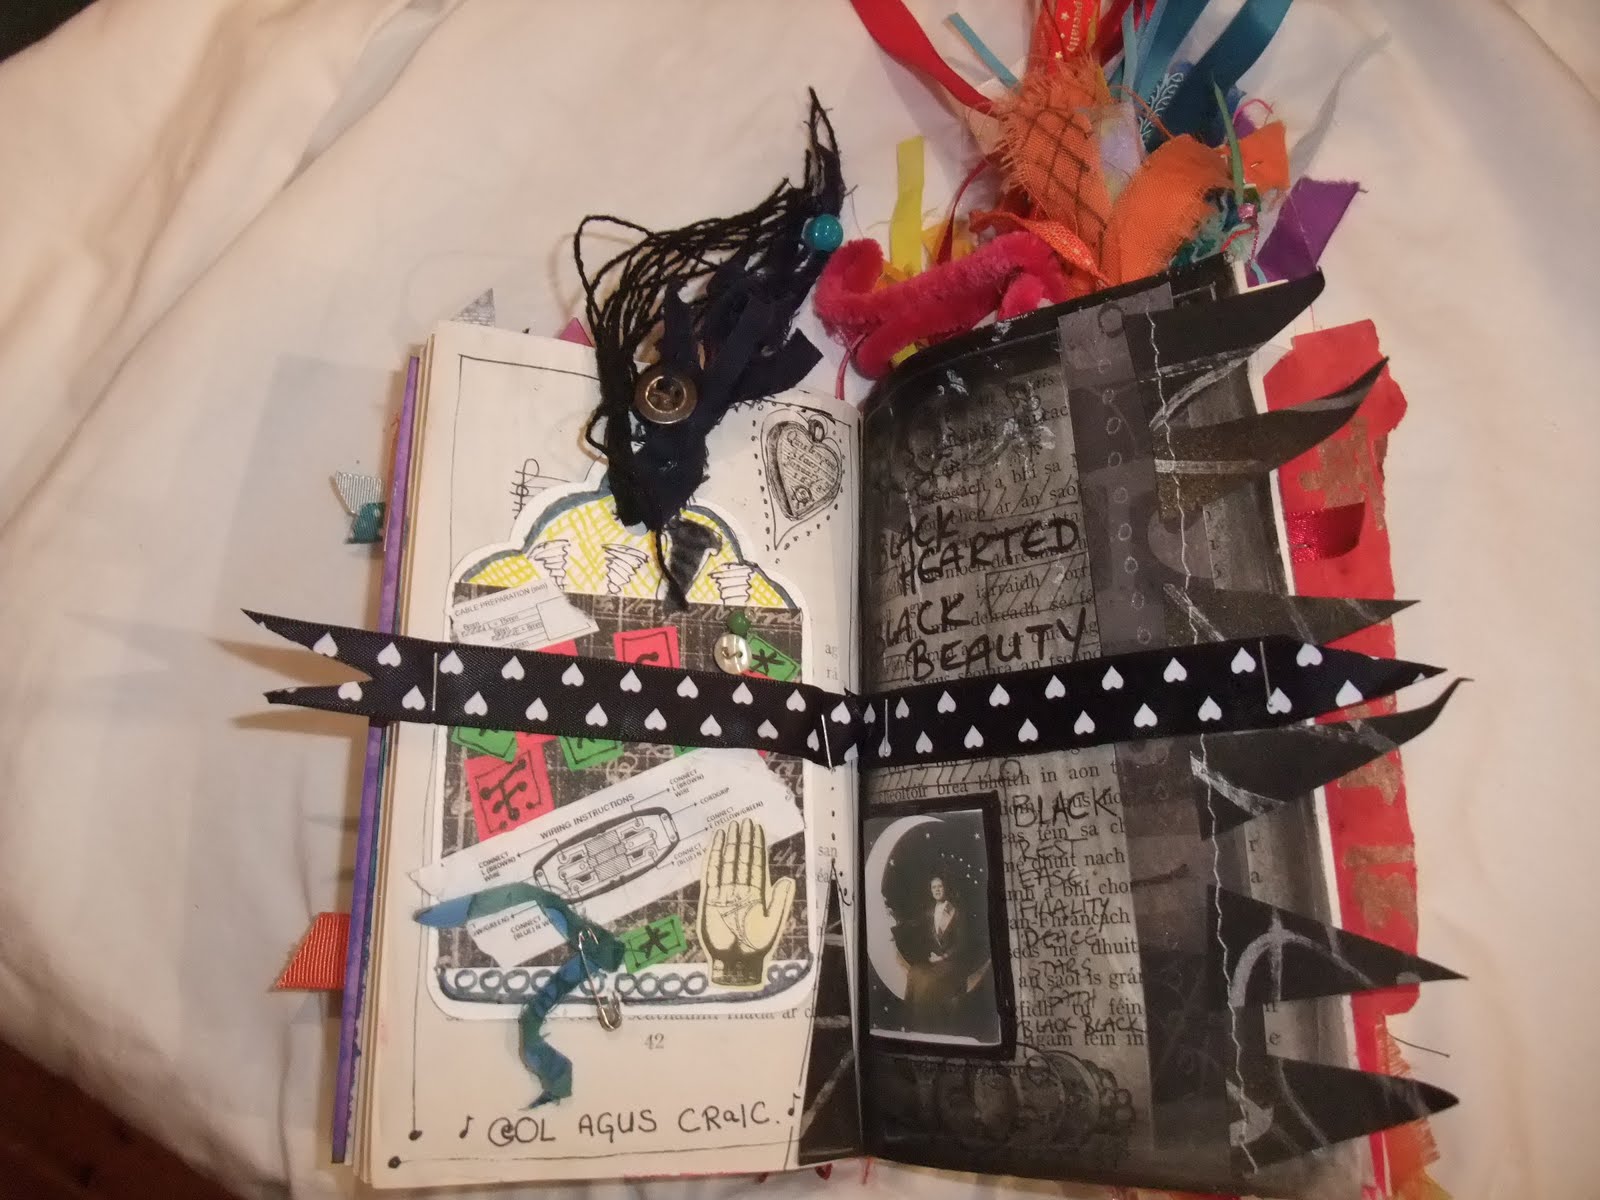
This was hand bound with coptic stitch, I used some stencils from Ed Roths new book, but most of the writing inside is freehanded, a combination of backgrounds, some linocut prints and scrapbooking papers. And some random images from the web.

I added some envelopes and skinny pages (so new pages can be stuck in) into the binding.


Monday, November 23, 2009

Rainbow tags

I have been working on these tags on and off for ages. They are just an exploration of colour, So I did a rainbow (I've just realised that indigo is missing from these pix!) plus black and white.

The tags are about 5 inches tall and 3.5 across on a base of cardboard.
These are the different colours


The tags are eventually going into this alteredbook. I received the book as part of a craft swap from the always awesome http://www.craftster.org/. a few of the pages were already altered by the artist, but leaving plenty of them for me to work on, so far I have only one done!...the black page.


Wednesday, August 26, 2009

Mexican kitsch

I love mexican style. I love shrines (as you might have guessed by now!) I love exubrance and bright colours and fun in artwork. I also love dios de los muertos. So I couldnt pass up the recent craftster.org swap on mexican kitsch.


This is what I sent my partner. She requested an altered book. I made this one by starting with a childs board book that had a plastic squeeker toy glued to the back page, I pulled out the toy and used fimo, polymer clay to make a skull, each page was then altered with a different mexican theme, day of the dead, frida, mexican wrestling, religious imagery


I also made her some lucha libre mask paintings, and a virgin of guadalupe bag. The bag is a simple square bottomed tote, with the virgin fabric sewn on. Let me know if you want to see a tutorial for this type of bag, it is very fast to sew up and can be made in a range of sizes.


Inchies


Inches are another example of my love of boundaries in work. They are simply one inch square canvases.

Tutorial for inchies,

1-Take a sheet of heavy watercolour paper or thin card, using water colour paints, paint random colours and shapes all over the paper, Dont think about this part of the process too much, just enjoy being a kid and splashing paper all over. Just choose colours that you like

2- allow them to dry

3-Using a sharp blade, scissors or one inch punch (best) cut out one inch squares from the sheet of paper. You now have your inchie backgrounds.

4- Look through magazines, internet, stamps, junk mail, for small images that fit the scale of the canvas, if you cant find anything you like, then doodle directly onto the backgrounds.

5-Your inchie may be finished at this point, or you may want to cut out random (or not so random) words, or use stamps, or trusty sharpie pens, to write words, draw symbols, squiggles or further embellish the inchie.

6- I love to add highlights with glitter glue.
7-images and elements that you add to the inchie, always look more finished if they are anchored to the page a little more, perhaps draw around them, I love adding dots, I think it is a mistake that many people make, to just stick down elements, you need to consider how to embed them into the page, perhaps by layering, outlining etc.
8- I think that edging the inchie make it 'finished' you can either drag a felt tip pen around the edge or press the edge into a stamp pad.

9-Make lots! they look fabulous when all grouped together in a frame, or stuck directly to the wall in hidden corners of your house.

bat shrine


This is a fun little shrine that I made. Its in a matchbox, so it is quite small.


To make, paint the inside and outside of the box black (add some glitter if you are obsessed like me!) I used a little moon sticker on the back wall to give depth, I used some hot glue to string a little black thread diagonally across the box, with a little bat sticker (despite my previous posts, I am not against using embellisments, just in moderation)


The metal cross was set in on a slant (I wanted it to look like an old graveyard), it was a charm for jewellery, I simply snipped off the top hanging loop.

musings on creativity

I live in ireland and we have bugger all in the way of craft shops. I am on holidays in Orlando at the moment and so have access to all the wonderful american craft shops and bookshops.

I have been in my element, spent a fortune on fabric!

My two loves are paper arts and sewing, I have been looking at a lot of books, magazines and articles on paper arts and while I hate hate hate the fact that so much of the wonderful papers and embellisments are unavailable to me, I think that on balance its a good thing. So much of what I have seen is very samey, people working with mass produced (not cheap!) embellishments, the work seems to become an assemblage of other peoples elements, I am not saying that its not creative, but maybe there is another step. To work with paint and glue and paper, make your own embellishments, rather than buying a 'set' from someone else.

What is creativity..to me, its about giving yourself permission to screw up, to fail, to create something that might not be perfect. I think everyone is creative. I think what stops us is the fear of failure.

What would you do if you werent afraid to fail.